Introduction
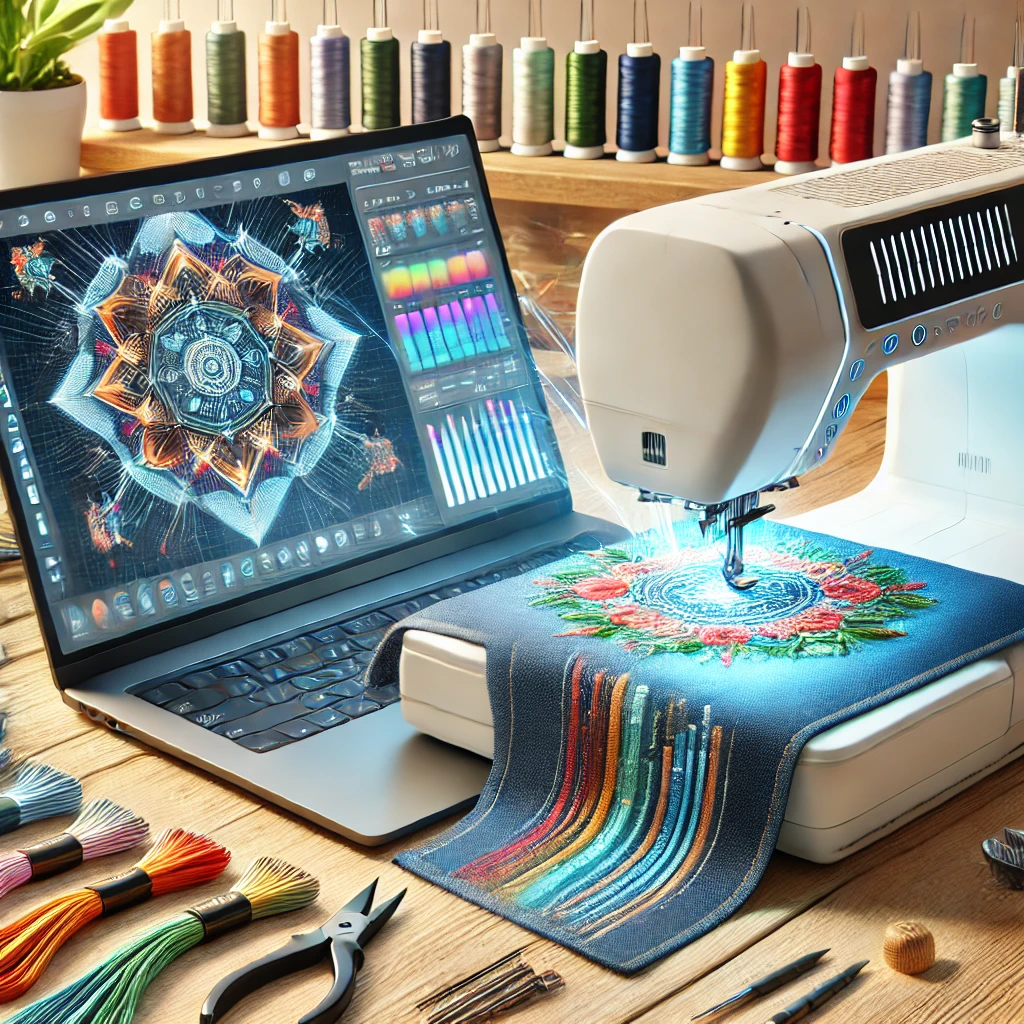
Digitizing embroidery designs is an essential skill for anyone looking to create high-quality, custom embroidery patterns. Whether you’re a beginner or a seasoned embroiderer, learning how to turn an image into a stitchable design can elevate your craft. In this guide, we’ll walk you through the step-by-step process of digitizing embroidery designs, explore the best software options, and provide expert tips to ensure your designs stitch out perfectly.
What is Embroidery Digitizing?
Embroidery digitizing is the process of converting an image or logo into a stitch file that an embroidery machine can read. This file tells the machine where to place stitches, which stitch types to use, and how the design should be structured.
Why is Digitizing Important?
✔️ Allows full customization of embroidery designs
✔️ Ensures high-quality stitching with minimal errors
✔️ Expands creative possibilities for embroidery businesses
Step-by-Step Guide to Digitizing Embroidery Designs
Step 1: Choose the Right Embroidery Software
Before you can start digitizing, you’ll need embroidery digitizing software. Here are some popular options:
- Wilcom Hatch – Best for professionals, offering advanced stitch editing
- Embird – Affordable and great for beginners
- Brother PE-Design – Ideal for Brother embroidery machines
- Ink/Stitch (Free) – A great open-source option for basic digitizing
💡 Pro Tip: Try free trials before committing to paid software!
Step 2: Import and Prepare the Design
1️⃣ Open your digitizing software
2️⃣ Upload your image or logo (JPG, PNG, or SVG format)
3️⃣ Resize the design to match the embroidery hoop size
4️⃣ Adjust the contrast to make outlines clearer
✅ Best Image Formats: Vector files (SVG, AI) provide the cleanest results for digitizing.
Step 3: Convert the Image to a Stitch File
1️⃣ Outline the Design – Use the software’s drawing tools to trace the design manually or use auto-digitizing features
2️⃣ Assign Stitch Types:
- Satin stitch – Best for text and smooth curves
- Fill stitch – Great for larger areas
- Running stitch – Used for fine details and outlines
3️⃣ Set Stitch Direction & Density – Adjust stitch angle and spacing to avoid puckering
Step 4: Test the Design in the Software
Most software allows you to preview the stitch-out process. Check for:
✔️ Overlapping stitches
✔️ Incorrect stitch density
✔️ Uneven areas
💡 Pro Tip: Reduce stitch count for better efficiency and lower thread usage.
Step 5: Export & Load the Stitch File to Your Machine
Once satisfied with the design, save it in the correct format for your embroidery machine:
- Brother Machines: .PES
- Janome Machines: .JEF
- Bernina Machines: .EXP
- Singer Machines: .XXX
Load the file onto a USB drive or transfer it via Wi-Fi (if your machine supports it).
Step 6: Test Stitch on Scrap Fabric
Before stitching on your final material, do a test run on scrap fabric. Look out for:
❌ Thread breaks
❌ Misaligned stitches
❌ Puckering or pulling
If any issues arise, go back into the software and adjust stitch settings accordingly.
Best Practices for High-Quality Digitizing
✔️ Use High-Quality Images – Blurry or low-resolution images produce poor stitch results.
✔️ Keep Stitch Counts Low – Too many stitches can cause thread breaks and uneven stitching.
✔️ Understand Fabric Types – Different fabrics require different stitch densities.
✔️ Use Underlay Stitches – Helps stabilize designs, especially on stretchy materials.
Final Thoughts
Digitizing embroidery designs may seem complex, but with practice and the right tools, you’ll be able to create stunning, custom embroidery patterns with ease. Whether you’re running an embroidery business or just personalizing gifts, mastering digitizing is a valuable skill that pays off.
Start Digitizing Today!
Need high-quality embroidery designs? Check out our premium and free embroidery files at EmbHub.com!
What’s Next?
📌 Want more embroidery tips? Join our community at hub.embhub.com to share projects, ask questions, and connect with embroidery enthusiasts!
🚀 Boost Your Embroidery Business! Get exclusive professional digitized designs from our shop! Shop Now


